In this modern era, the importance of the Rockspace extender is increasing day by day because, with its assistance, people are connected to the internet. But, after some time using the extender, users experienced issues with the extender services because they did not do the Rockspace WiFi extender firmware update due to a lack of knowledge. If you are also unaware of the firmware process and want to know the important points, then you have come to the right place. Here, you will get all the steps of a manual method to update the rockspace firmware. So, keep reading!
First, we want to tell you about the firmware so that you will understand the importance of firmware software in the extenders.
What is Rockspace Firmware Update?
Well, to your knowledge firmware is a kind of software that Rockspace released usually for their networking devices like extenders and routers. With the help of a firmware device works error-free and gives outstanding services. If the firmware does not update on tin it puts your device at a higher risk because outdated firmware does not support the features of the extender and also corrupts the internal files which are not good for the extender. So, if you keep your device firmware updates then your device does not have any kind of issues.
Firmware always supports the device to complete with the high advanced features and fixes small bugs and enhances overall productivity.
Now, you know why you need to keep your device updated. If you want to know the steps to update the firmware then, read out the next section where we elaborate on every step.
Rockspace Firmware Update [Manually]
Here, you will go through the effective steps of a manual method to update the Rockspace firmware. You can also call this method web interface because in this process you need access to the default web address of the Rockspace extender. To know more follow the outlined steps:
Power Up Your Rockspace Extender
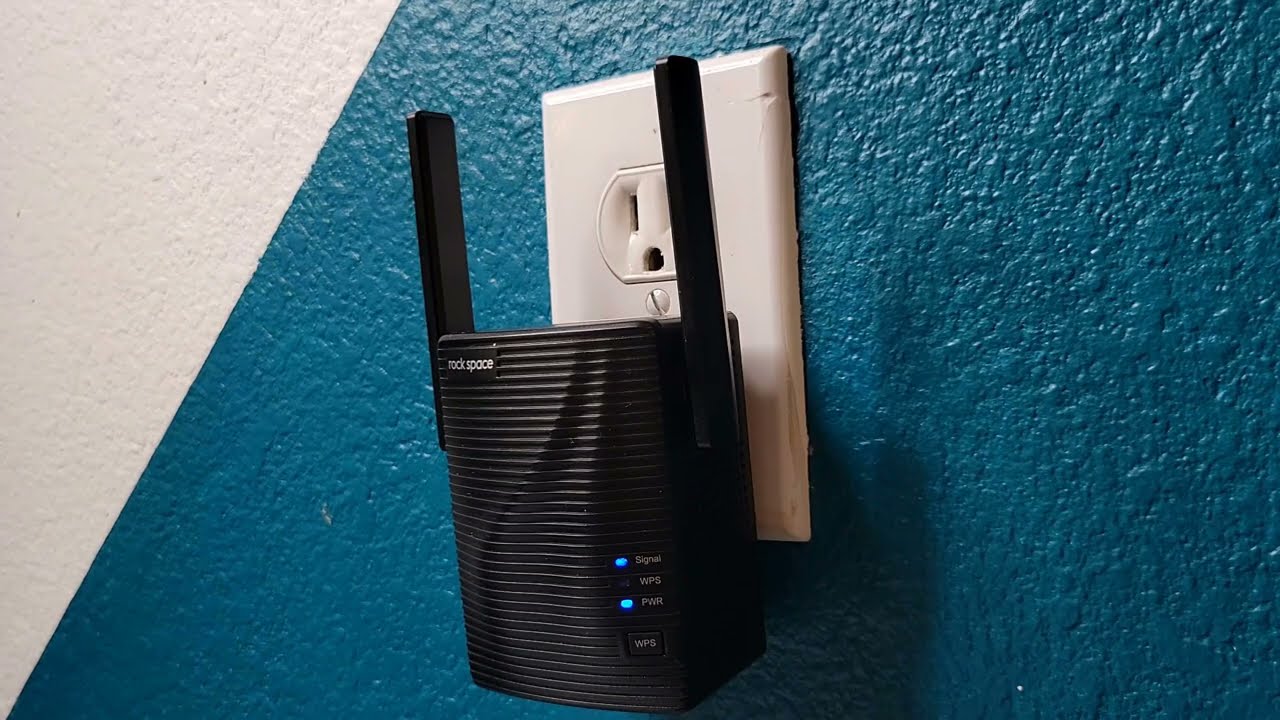
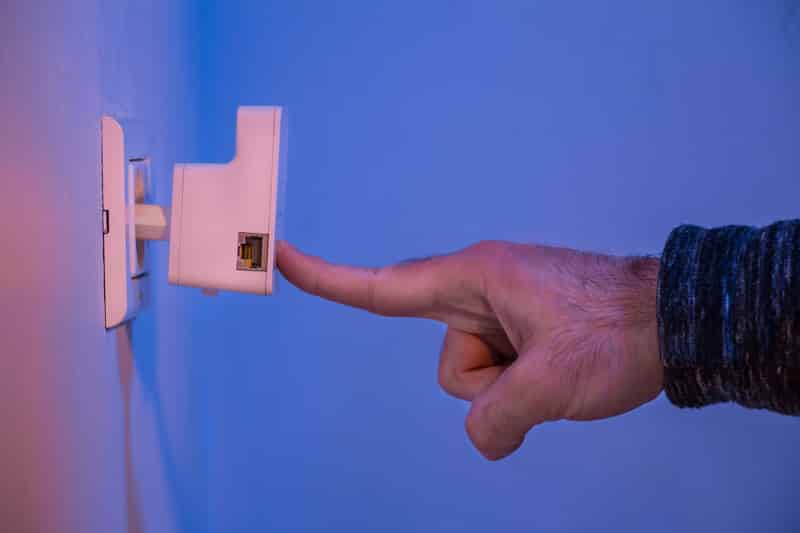
- First of all, you need to connect the extender to the power source. Ensure that the power socket in which you plug in the extender is non-damaged.
- Once you plug the extender into the wall outlet. Press the power button.
- Now, your extender is booted up for the next step.
Connect the Extender and Modem
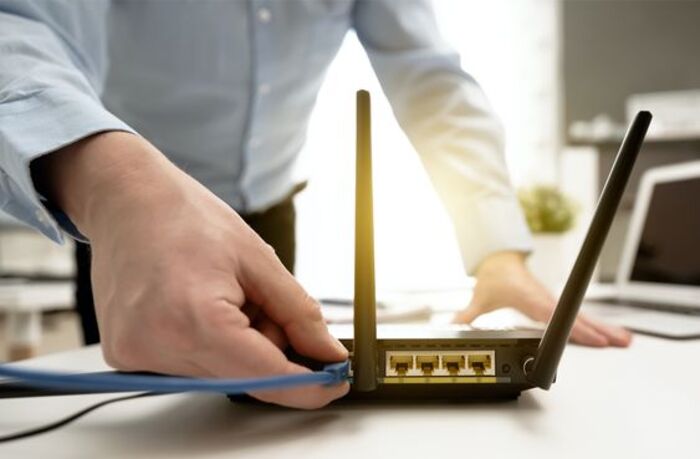
Now, you need to make the wired connection between the extender and the modem. We recommend a wired connection because, with the help of an Ethernet cable, the chances of disconnection are low as compared to wireless mode.
Open the Web Browser
You need to power on your computer and laptop for further processing. You need to open the latest web browser on your device. Make sure that browser extra files like cache and cookies are cleared.
Access the Default URL
Insert the default web address of the extender into the address bar without making any typing mistakes. The web address of the extender is re.rockspace local. Press the Enter key.
Log into the Rockspace Extender
Now you need to do Rockspace login by filling in the credential into the on-screen field. Once you put in the username and password. You need to click on the Login Button.
Update Rockspace Firmware
Now, you will see the extender dashboard in which you need to perform some sub-steps that are mentioned below:
- Locate the Menu Setting.
- Click on Advanced > Administration > Firmware Update.
- You will see the Online Update and Manual Update.
- Select Manual update.
Now, you see the home screen prompts that you need to follow to complete the update.
Conclusion
This is how you can update your extender through manual methods. Hope all the aforementioned steps will assist you to get the successful update of firmware.
Read more- Netgear WiFi Range Extender Not Working? Let’s Get That Fixed!


